Try This (5/15/11)

Cameras are a wonderful tool for expressing your thoughts visually provided that you know how to get your camera to “say” what you want.  The most basic step in getting the camera to speak for you is making sure it captures the “correct” amount of light to convey whatever it is that you want to “say”.

To that end one must learn how to control the camera with regards to how much light is captured.

Try This:  Place your camera on a tripod.  Point the camera at something with a fairly uniform tone, like a fence or a lawn.  Zoom in so that only that tone is seen in the viewfinder.  Next change the camera’s capture mode to Manual, yes – Manual.  For some this might be daunting and downright scary.  But believe me your camera will not be harmed and furthermore, if you make a “mistake” you can just delete it.  However what we want to see here are the mistakes and learn from them.  You might need to consult your camera manual.

Now that you have the camera in manual mode, consult the camera manual and determine which buttons or wheels control the adjustment of the Aperture and Shutter.  I know for example on most Canon DSLR cameras, the aperture is controlled by the large thumb wheel in the middle of the back of the camera just to the right of the LCD and the shutter is controlled by the small finger wheel in the front of the camera just under the shutter release button.  On Nikon DSLR cameras, the aperture is controlled by a small finger wheel on the front of the camera just under the shutter release button  and the shutter is controlled by a similar wheel on the back of the camera at the top right, behind the shutter release button.

With the camera now on a tripod and in manual mode, adjust the aperture to its largest setting, i.e. the smallest f-number something like f4, f3.5 or f2, and set the shutter speed to its longest setting, for most cameras 30 seconds.

Now press the shutter release button, you will need to wait 30 seconds for the exposure to complete and then look at the LCD.  What do you see?  If everything went as described, you should see a completely white screen, and possibly blinking black to white.  This is extreme over-exposure.  In other words too much light got into the camera.

Now, start reducing the aperture size by dialing in larger f-numbers.  For example if you started out at f3.5 now go to f5.6 then f8, f11, f16, f22 and so on until you run out of f-stop settings.  Each time making that 30 second exposure and examining the LCD.  It is possible that even at the smallest aperture opening, like f22, with that 30 second shutter speed you won’t see much difference.

Now dial in the next shorter shutter speed, most likely 15 seconds and then make photos with increasing aperture sizes going from f22 back to f3.5 or whatever your maximum aperture is.  Examine your LCD each time.

Continue to repeat this with every shutter speed setting you have 8 seconds, 4 seconds, 2 seconds, 1 sec, 1/2 sec, etc.. until you reach the shortest shutter speed probably 1/2000 sec or 1/4000 sec.  At least one if not several aperture-shutter combinations will give you a photo that will resemble the uniform tone you have your camera pointed at.  In fact the photo that closely resembles that tone will probably be the one you like least as it will probably be not what you thought you “saw”.  A series of these photos that I made is shown below.  Oh, and for the record, I liked the f11 @ 1/60 sec exposure best, even though the camera indicated that it would have given me the f11 @ 1/125 sec exposure.

This is the first step to mastering your camera to convey what you want it to, learning how to take control of exposure.  To learn more about photography consider taking an Organic Light Photography Workshop.  You’ll learn more about exposure and a whole lot more.
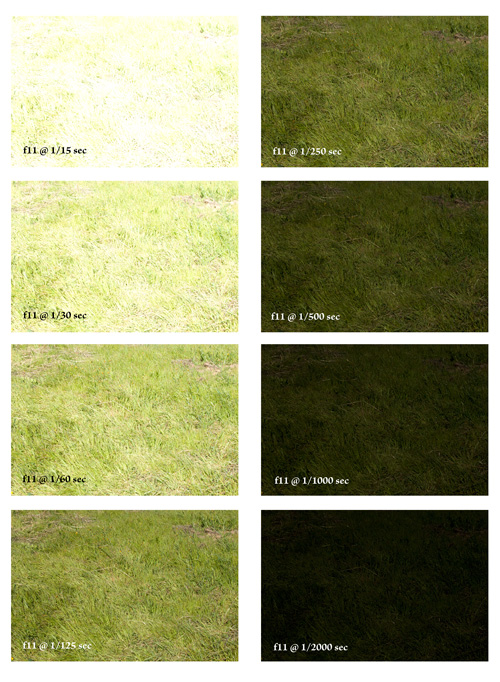
Exposures in Manual Mode

Leave a Comment: Comments (0)

The Structure of a Photograph

The structure of a photograph is founded on light. It starts out with seeing that light and then building up from there.  Seeing the light however, is where most of the real work behind a photograph takes place.  Some say seeing photographically is inherent and can’t be taught.  I am not of that bent.  I think anyone can be taught how to make great photographs.  There are a number of skills that are required to make great photographs and all of those skill can be acquired.

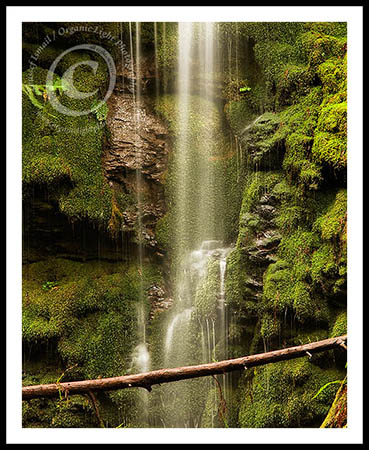
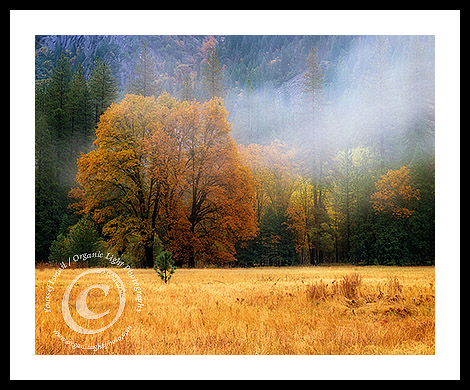
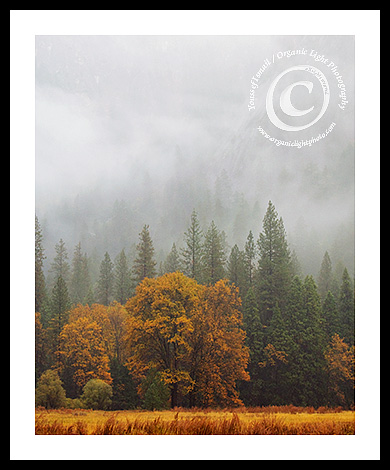
Ephemeral Veil

Ephemeral Veil

Photography is writing with light and so it should go without saying that a photograph will convey something to the viewer.  What a photograph conveys will depend on the intent of the photographer.  No matter what the photographer wants to say, and whether the photographer knows it or not, every photograph is made from both a top-down and a bottom-up process.

Whether the photographer is conscience of the top-down process or not, it all begins with seeing light.  Something will catch the eye or interest of the photographer and causes the process to begin.  Is the light warm or cool, is it harsh or soft, is it diffuse or directional? What elements are illuminated by that light; lines, shapes, colors, textures? Spatial relationships begin to form between the graphic elements and the geometry of the image starts to take shape. At this point the photographer might consciously or unconsciously start to look at the scene from the aspect of isolation. How can what is seen be isolated from its surroundings or on the converse how can it be incorporated into its environment. This will prompt the photographer to start on a more technical path of choosing a lens to either limit the angle of view or expand it. Not only will the lens choice determine the angle of view but it will also dictate the perspective taken, that is where will the photographer stand to make the photograph.

Once the lens and perspective are chosen, the next decision, although technical in nature, has artistic consequences and this is the selection of the lens’s aperture. The technicalities of photography now start to emerge and lacking the technical knowledge will usually be the reason a photograph fails to convey the photographer’s intent. For now the photographer has reached the bottom of the top-down process.

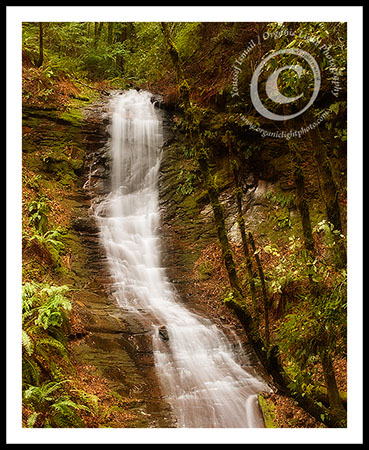
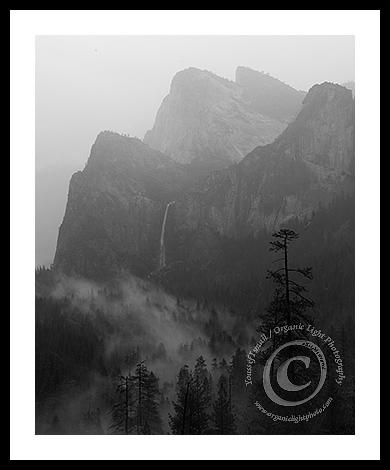
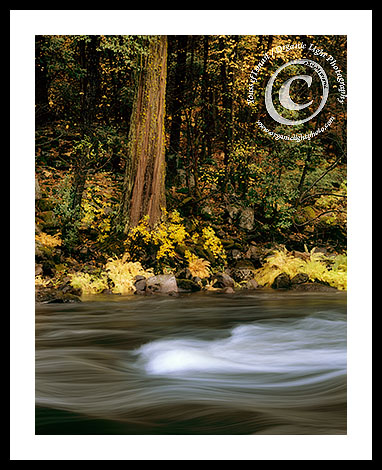
Tailbone Falls - Early Winter run

Tailbone Falls - Early Winter run

Upon choosing a lens it must be focused and its aperture set to a given size.  It is at this point that the photographer begins the bottom-up portion of the photography process.  The bottom-up process is one of technical skill in working with the light itself – from determining how much light is available to how much to let into the camera and for how long.  And unfortunately it is at this very point that most photographers start the image making process and also where confusion and failure start.  It all begins with choosing the aperture, then based on the light available, the shutter speed is determined and coupled with the sensitivity of the capture medium, forms what is called an exposure.

The aperture of a lens is that physical parameter that will ultimately determine how much light will get into the camera to make the photograph a reality. A large aperture will let in more light than a smaller one. While a smaller aperture will, for that given lens, increase the depth of field and a large aperture will limit the depth of field. This property of optics, depth of field, is the perception of how many elements in the scene will appear to be in focus. As technically only one distance from the camera will actually be in focus – the distance focused to on the lens, all other distances closer to and further from the camera will not truly be in focus. The size of the aperture will either enhance the perception of focus or reduce it.

The shutter speeds determines how long light will be let into the camera to expose the light sensitive medium.  The shutter too has both technical and artistic consequences.  Where the aperture was concerned with the perception of focus, the shutter deals with the perception of time.  Time is an interval over which some action takes place.  The shutter speed chosen will either elaborate time by showing action occurring through the perception of motion-blur or remove time from a scene by freezing objects in the frame. With a fast shutter, in other words allowing light to enter into the camera for a very short amount of time, motion can be stopped and time frozen in that instant.  Conversely, with a slow shutter, one in which the lens is open for a very long time, any motion occurring in front of the camera will be captured as such and give the perception of action occurring.

So as the technical settings are set, the photographer still needs to be thinking about what he or she wants to convey in the photograph and how.  In addition to that, determining the right amount of light to let into the camera is of probably the most important step in the bottom-up process.  Determining this amount of light is what most call exposure.

Unfortunately it is the failings of understanding the basics of exposure, the very foundation of capturing the very light that caught the photographer’s fancy in the first place, that renders a photo unsuccessful.  It is here that the foundation of any photograph is formed.  By observing the light, measuring its intensity with a light meter and setting the tonality of the subject being photographed to a tone that comes as close to how the photographer’ eye sees it, the photographer can start building up the photograph so that it can convey his or her intent.  Once the tonality of the subject is assessed and set on a tonal scale where the ends of the scale are pure black and pure white now allows the selection of the aperture and shutter speed such that the tonality of the subject is rendered as seen in the resulting photo.  With the first photograph formed, the photographer can asses if it resulted in conveying what was originally ‘seen’, and if not variations in either the technical or creative elements will be made until the image is deemed successful.

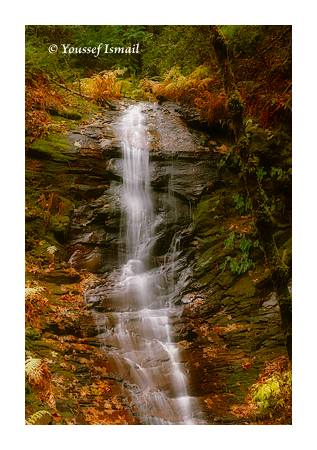
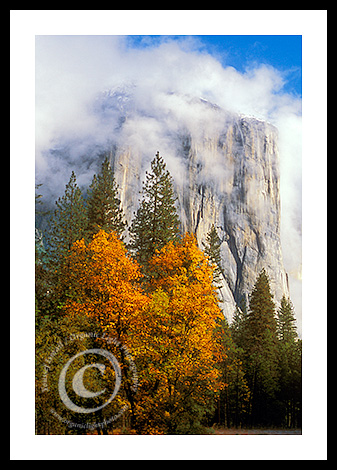
Tailbone Falls - Winter Run

Tailbone Falls - Winter Run

The entire process could take moments, hours, days, months or even years to make one successful photograph of any given subject.  Learning the photographic process is a long term endeavor.  Learning how to make good technical photographs takes a person on a journey through the bottom-up process of understanding light as a physical quantity, learning how to measure it and control how much gets into the camera and how it will look in the final photo.  Learning how to convey what is seen, or even more difficult, learning how to see in the first place requires a person to be immersed in the light and look at it over and over and cognitively observe how it effects mood, emotion and state of mind.

It is a step by step process that can provide a lifetime of learning and enjoyment.  Taking it stepwise in concise classes or in an intensive immersion in the whole process with an instructor devoted to communicating with light is right way to proceed.  Organic Light Photography offers many such classes and workshops.  In addition if none of these offerings suit you, contacting us about what you want we can tailor instruction to your needs and if not we can recommend other fine instructors that can help you.  It all starts with you.

Leave a Comment: Comments (0)

Excellence

Achieving excellence in my endeavours has always been a top priority for me. I could never bring myself to do work that was half way, and if I could not produce top rate results in what I was trying to do, I either worked harder at it or decided that my efforts could best be served doing something else. When I finished high school I was very fond of woodworking and making fine furniture. That was nearly 30 years ago, and I still have a fine birch table that I made in my senior year. I left high school seeking to work as a furniture maker. I ended up working that first summer in a factory that made rock-band speakers building the speaker cabinets production-line style. Not really my idea of fine woodworking. So at the end of that summer I signed up for community college, not exactly sure what I was going to do.

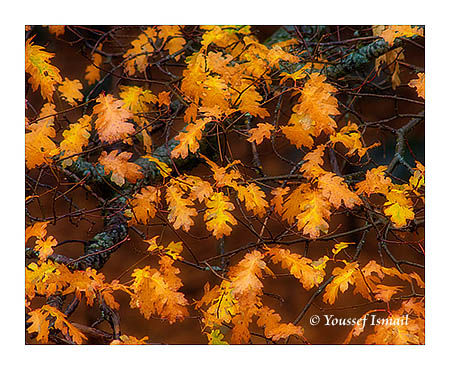
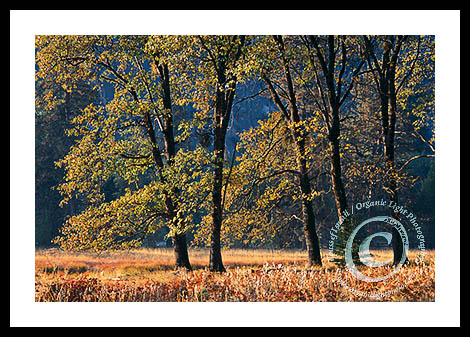
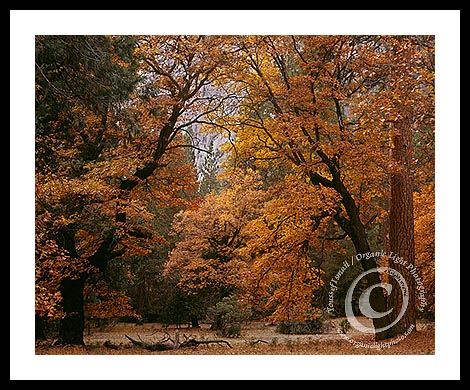
Oak Net

Oak Net

I spent the next 6 years working towards a bachelors degree in engineering. I quickly became obsessed with earning high marks in all my classes. Something that was new to me, as I was never driven academically in high school. I devoted those six years to my studies, from dawn to late into the night, sometimes putting in 20 hour-days for weeks on end. All my work was elegant, solutions to problems meticulously carried out step-by-step, with every problem in the texts solved. I went above and beyond what my professors asked for. I did not need to do this, but I was driven to produce only the best work. At times I hated that I worked so hard, but I could not bring myself to do anything less. In the end it was all worth it, graduating Summa Com Laude with a 3.94 GPA.  I was proud of what I had accomplished and it gave me the ranking that earned me the opportunity to attend Stanford University where I was given a research assistantship that paid for me to study there for another 6 years where I earned Doctoral degree in Mechanical Engineering.  However, when I finally finished my studies and decided to enter into the corporate world, I quickly discovered that quality work was not as prized as it was in academia.  Cost was the driving factor and unreasonable deadlines usually drove the outcome.  That was a hard pill for me to swallow.

During those six years at Stanford I picked up photography as a hobby and then it too became an obsession and finally as my livelihood.  At first I was concerned with learning how to master exposure, which by the way only took about 8 years.  Then later working hard to master composition and further than that how to produce a photograph that would move some one’s heart the way mine was moved at the time I experienced that moment depicted in the photo I made.  I still struggle with that.  It has been a long and arduous journey learning how to do this.  Along the way I met with many brick walls that almost forced me to stop.  At times when I felt my work was not up to par, that it could not compete with the work of other photographers that I admired it was not hard to convince myself to just give up.  However something inside kept pushing me.  In school it was a level playing field, my work was compared to my peers and we were all learning.  But with my photography, I compared my work against that of the masters and it was falling short in a very serious way. 

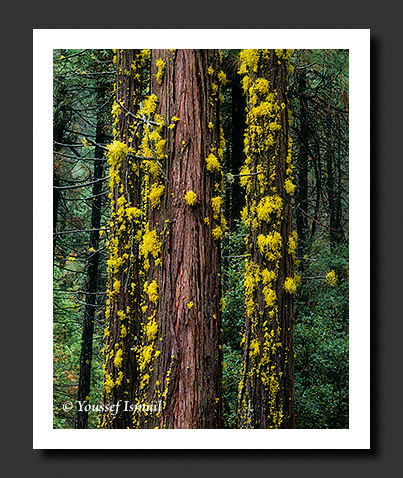
Incense Cedar and Lichens

Incense Cedar and Lichens

Now after 20 years of work, I no longer compare my work to the work of others, at least not in a superficial way.  I rank it by my own expectations and by the responses I receive by my patrons and admirers of my work.  If I find that a certain photograph can elicit a response from a viewer in such a manner as to indicate that their heart was moved how my was, then I know that I have been successful.  And if it further moves a person to actually purchase it for themselves, then I know I have achieved excellence in my work.

It has been a long and hard process getting to this point.  One that I would never want to trade in or change.  Five years ago I decided that I had enough experience under my belt, so to speak, that I could offer what I know to others through instruction.  I have had many students since that time.  One of the over-arching complaints my students have had when asked why they are seeking photographic instruction is that they can’t seem to make photos that represent what they “saw” at the time they made their photo.  I have found over the years that the majority of the time, the answer lied in technical proficiency, and in specific proficiency in making the “correct” photographic exposure.

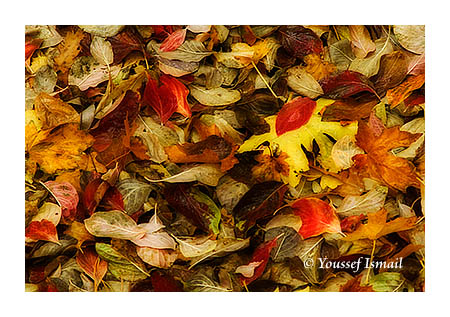
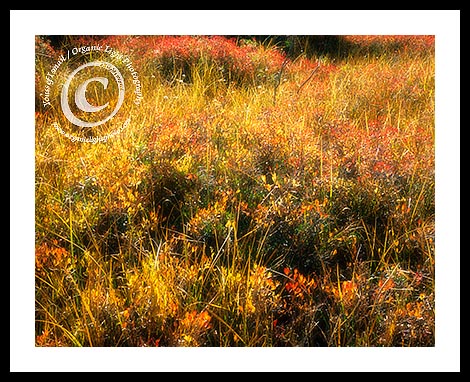
Dogwood Carpet

Dogwood Carpet

One class will not bring the proficiency of making a photograph that captures what was seen at the moment it was made, and anyone promising that is lying to you.  What instruction will bring is a savings in time and effort by having someone tell you what mistakes to avoid based on years of experience.  This points the student in the right direction on the journey to making the photographs they want to make.  It will still take practice, lots of practice, and many mistakes will still be made but with an instructor concerned with the success of the student in mind, every mistake becomes a means for learning what to avoid without having to suffer the frustration of not knowing why that photo did not work out.

My instruction is step wise.  I first focus on the technical aspects of camera operation and how to expose a scene the way the student wants it to appear.  I emphasize the basics, the foundations of good photography, by learning how to control the camera manually rather than letting the camera control the student.  I instruct the student to see the camera as a tool in their image making and not as a constraint.  Once I feel the student has a good grasp of the technical, I then move on to the esoteric aspects of image making – the how and why of making a photograph speak for you.  It takes time, but I have seen great things come from the students  I have taught, and in turn they have seen their improve as well.

If learning how to make expressive photograph interests you, then consider one of my clinics, workshops or photo tours.  And if you find that my approach or offerings don’t interest you let me know and I can suggest several fine classes from other photographers that I admire.  Helping you improve in your work brings me great satisfaction, and it raises the bar of excellence a bit higher every time I can help someone improve.

For a listing of the clinics and workshops offered visit the Organic Light Photography Workshop Page, or Contact me for more information.

Leave a Comment: Comments (1)

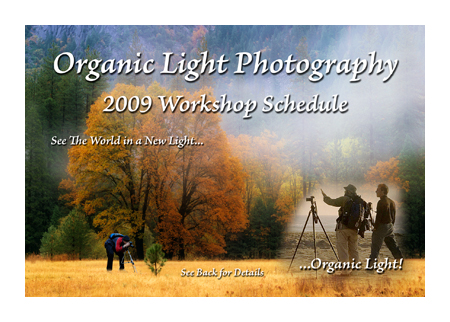
2009 Organic Light Photography Workshops

The 2009 workshop schedule is now online at the Organic Light Photography website.

This years schedule includes

California Desert Wildflowers: April 17 – 19
Redwoods and Seascapes: May 22 – 25
Marin Coast and Headlands: July 17 – 20
Tuolumne Meadows Spring: July 24 – 27
Big Sur Coast: August 21 – 24
Eastern Sierra Fall Color: October 2 – 5
Maples and Redwoods: October 24 – 26
Autumn in Yosemite Valley: October 30 – November 2

For more information on these workshops and to register ONLINE! visit the Organic Light Photography website Workshop Page Today!

Leave a Comment: Comments (0)